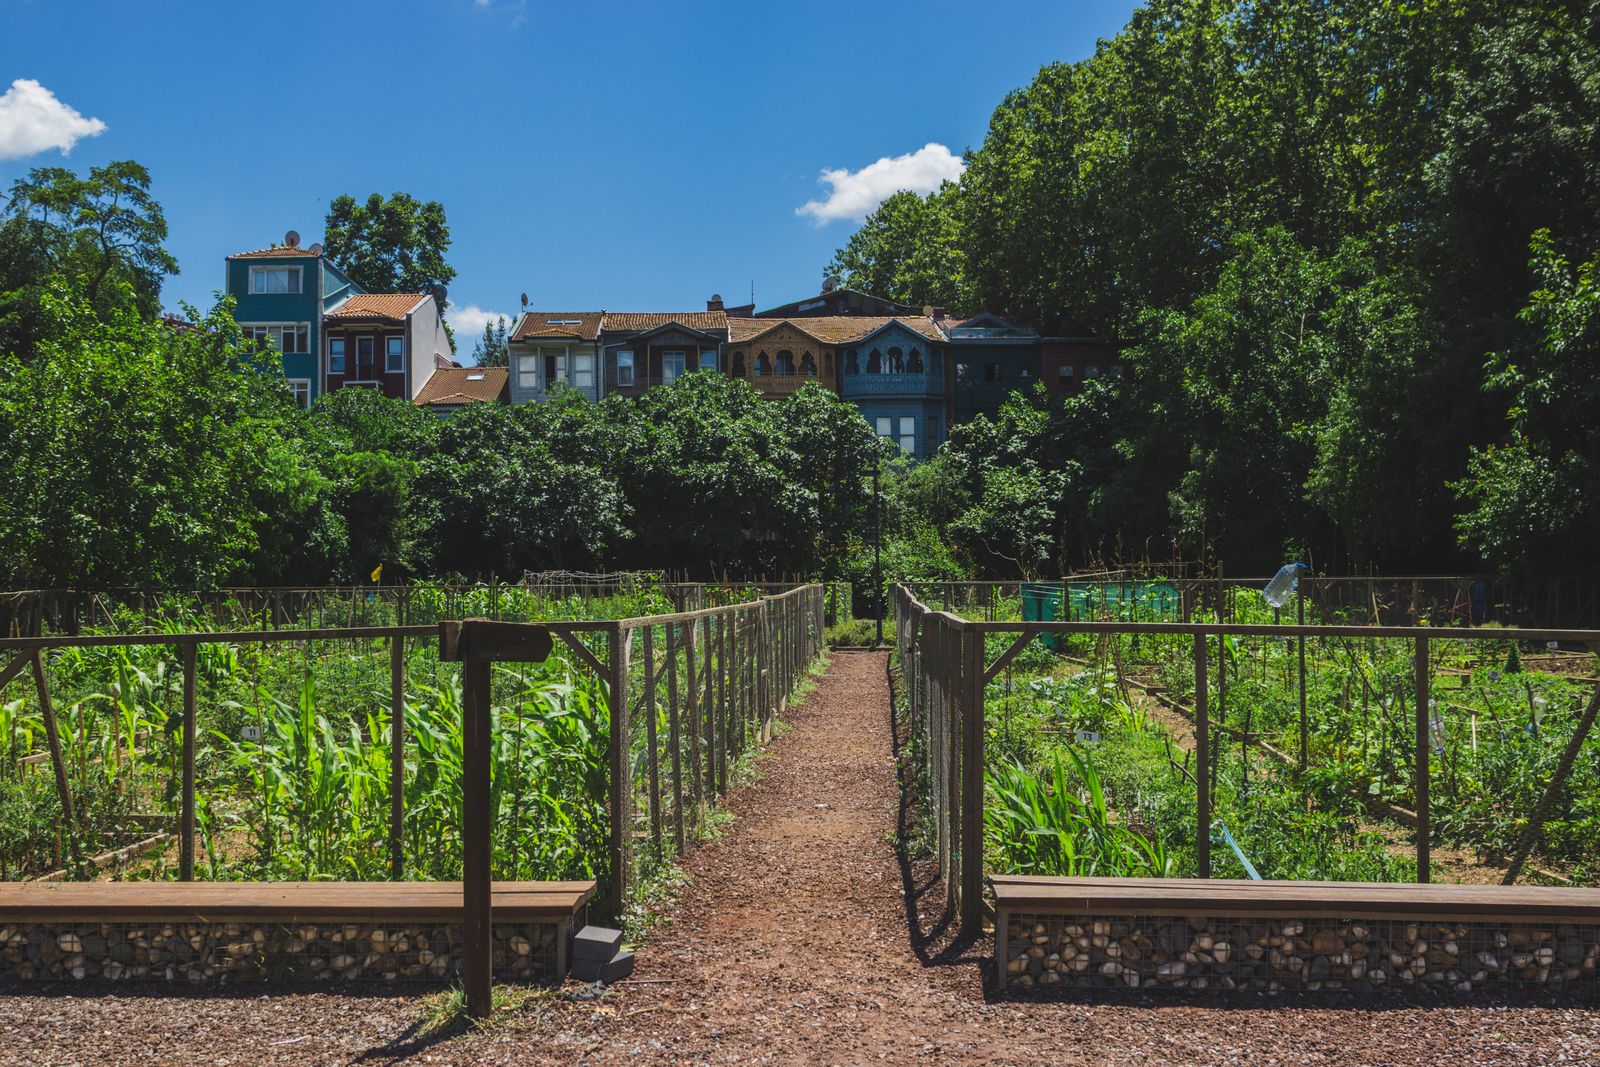
Staring at an empty patch of yard trying to figure out where the tomatoes should go is one of the most common ways a first vegetable garden goes sideways. Plants end up too close together, tall crops shade out the short ones, and by July everything is a tangle.
A solid vegetable garden layout for beginners solves all of that before you ever put a seed in the ground. Get the sun, spacing, and plant placement right from the start, and the rest of the season is mostly just watering and harvesting.
This guide walks through a real, buildable layout — the kind you can sketch on paper tonight and start digging tomorrow.
Table of Contents
- Step 1: Pick the Right Spot
- Step 2: Choose Your Bed Size and Shape
- Step 3: Orient Your Rows Correctly
- Step 4: Place Plants by Height
- Step 5: Space Everything Properly
- A Sample 4×8 Layout for Beginners
- Common Layout Mistakes to Avoid
- Frequently Asked Questions
Key Takeaways
- Choose a site with at least 6–8 hours of direct sun; fruiting crops like tomatoes need the full 8.
- Run rows north to south so plants shade each other as little as possible.
- Put tall crops on the north side, medium crops in the middle, and short crops on the south side.
- Start with one manageable bed (a 4×8 footprint is the classic beginner size) instead of a sprawling plot.
- Give plants their full mature spacing on the seed packet — crowding is the single most common beginner mistake.
Step 1: Pick the Right Spot
Sun is non-negotiable. Most vegetables need at least 6 hours of direct sun, and fruiting crops — tomatoes, peppers, cucumbers, squash — do best with 8 or more, according to the University of Maryland Extension. Leafy crops like lettuce and spinach are the exception; they’ll tolerate as little as 4–5 hours and appreciate a break from intense afternoon heat.
Walk your yard at a few different times of day before committing to a spot. Watch for trees or structures casting shade at midday, a slope steep enough to wash away water and soil, and distance from a water source — you’ll be hauling a hose here all summer. Avoid siting the garden right next to established trees or shrubs; their roots compete for water and nutrients below ground, and their canopy blocks both sun and airflow above it.
Step 2: Choose Your Bed Size and Shape
The single best piece of advice for a first garden: start smaller than you think you need. A small, well-tended bed will out-produce a large one you can’t keep up with — weeds and neglected plants overwhelm an oversized plot fast.
A 4-foot by 8-foot bed is the classic beginner footprint: 4 feet is narrow enough to reach the center from either side without stepping on the soil, 8 feet gives room for 4–6 crops without crowding, and it’s a manageable weekend build whether you’re framing a raised bed or marking out an in-ground plot.
If you want more room, add a second 4×8 bed next season rather than doubling up on year one. You’ll learn more from managing one bed well than from struggling to keep up with two.
Step 3: Orient Your Rows Correctly
This is the step most beginners skip, and it’s the one with the biggest payoff for zero extra cost.
Run your rows north to south. As the sun moves east to west across the sky, north-south rows get even light exposure on both sides throughout the day. Rows planted east-west end up shading themselves — the sun stays largely on one side of the row all day, and taller plants block the row behind them for hours at a time.
If your yard’s shape forces an east-west orientation, don’t panic — just lean harder on the height-placement rule in the next step, and consider it a bigger reason to keep tall crops on the north edge.
Step 4: Place Plants by Height
Once your rows are oriented, arrange crops from tallest to shortest, north to south:
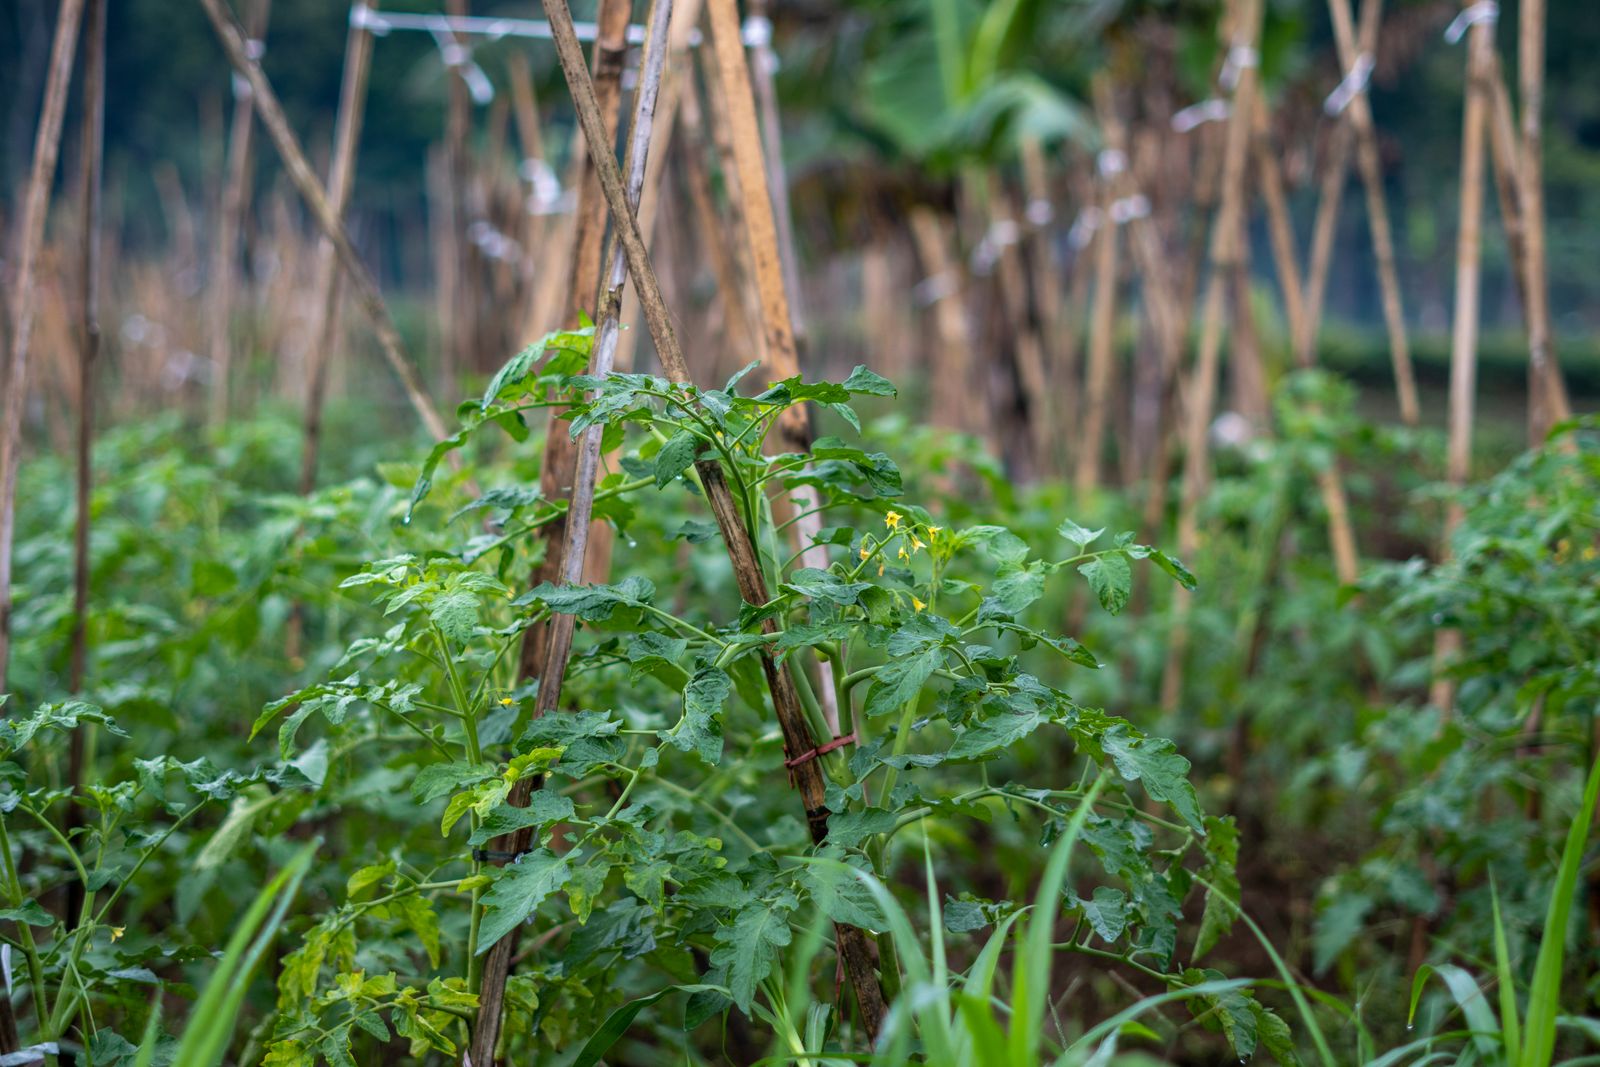
- North side (tallest): pole beans, trellised cucumbers, sweet corn, staked or caged tomatoes
- Middle (medium height): bush tomatoes, peppers, squash, broccoli, cabbage
- South side (shortest): lettuce, radishes, carrots, onions, beets, herbs
This isn’t just about avoiding shade — you can use it on purpose. Extension research notes that pairing shade-tolerant, cool-season crops like lettuce near taller plants such as tomatoes or pole beans actually helps in hot climates: the dappled shade keeps soil cooler, which can extend the harvest window and reduce bitterness in leafy greens.
Step 5: Space Everything Properly
Crowding is the most common mistake in a first garden — those little seedlings look so small at planting time. Overcrowded plants compete for water, nutrients, and airflow, which means smaller harvests and more disease pressure from humid, still air trapped between leaves.
Always plant to the vegetable’s mature spacing, not its seedling size. As a rough guide:
| Crop | Spacing between plants | Spacing between rows |
|---|---|---|
| Tomatoes (staked) | 18–24 in | 36 in |
| Peppers | 12–18 in | 24 in |
| Bush beans | 3–4 in | 18–24 in |
| Lettuce | 6–8 in | 12 in |
| Radishes | 1–2 in | 12 in |
| Zucchini/summer squash | 24–36 in | 36–48 in |
Seed packets and plant tags always list exact spacing for the specific variety — treat the table above as a starting point, not the final word.
A Sample Vegetable Garden Layout for Beginners
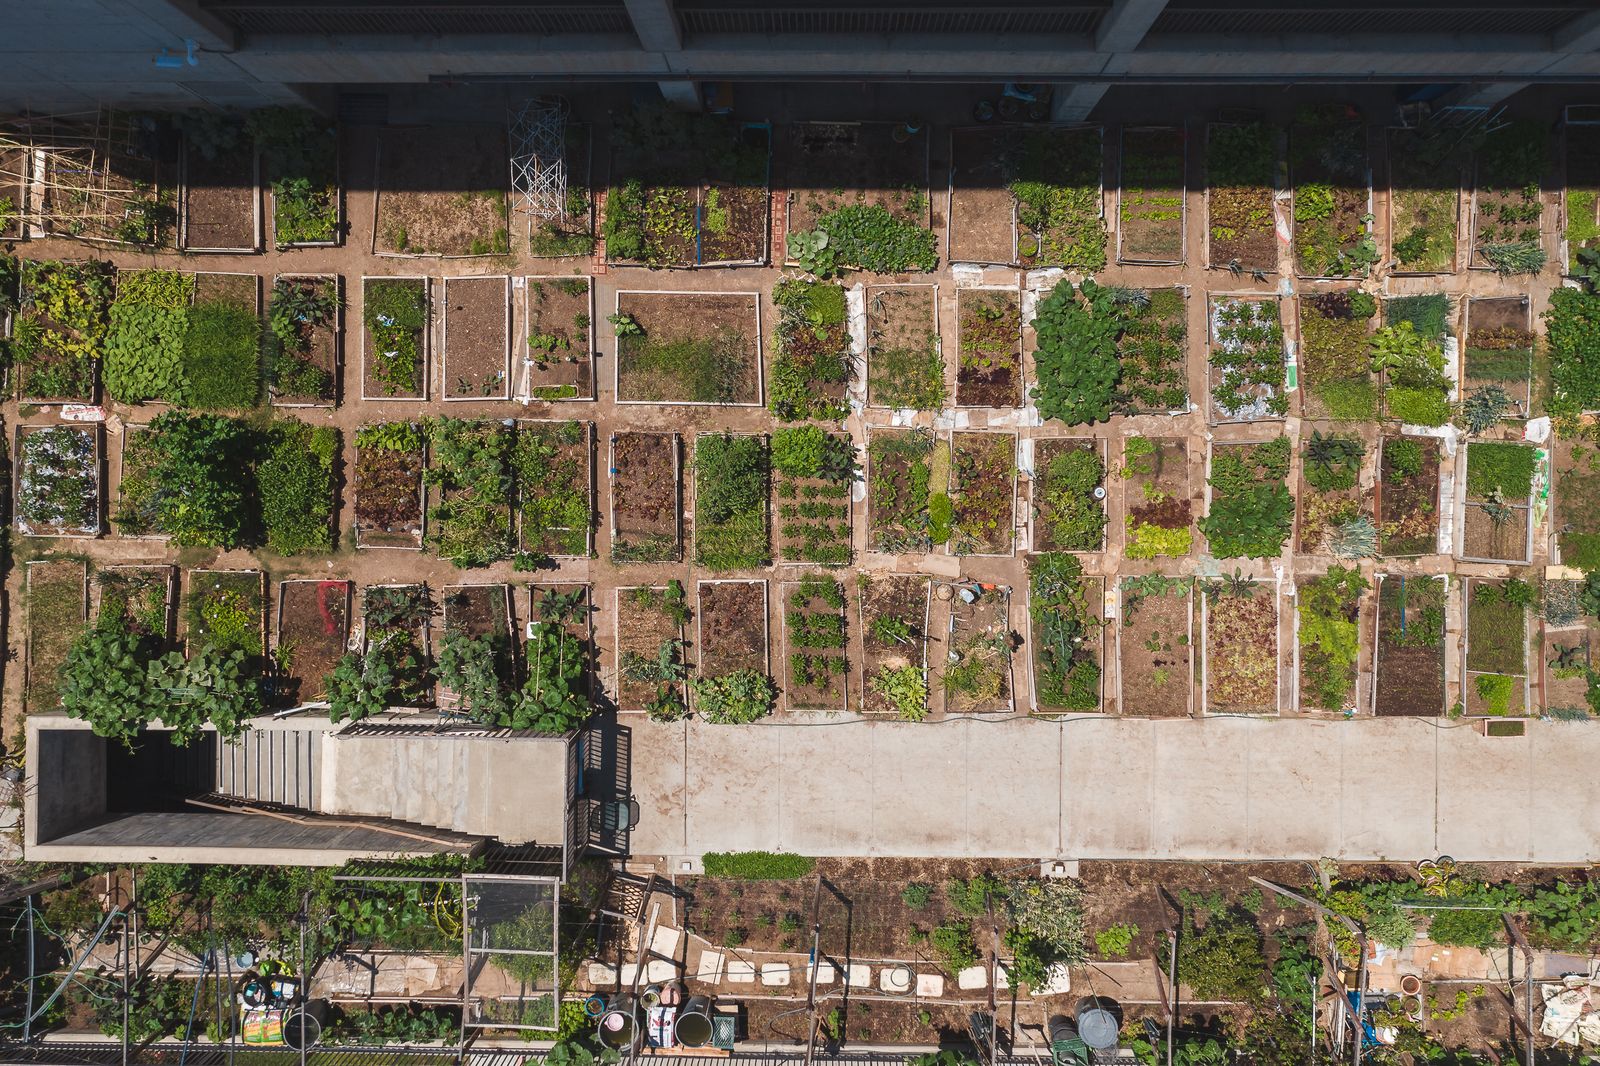
Here’s one way to fill a single 4×8 bed with easy, beginner-friendly crops, oriented north to south:
- North end: 2 caged tomato plants
- North-center: 4 pepper plants
- South-center: a short row of bush beans
- South end: lettuce and radishes interplanted (radishes mature fast and get pulled before lettuce needs the room)
That’s four crops that all show up on extension lists of the easiest vegetables for beginners — tomatoes, peppers, beans, and quick-maturing radishes — arranged so nothing shades anything it shouldn’t. If you’re building the bed itself, our raised bed soil mix recipe covers exactly what to fill it with, and growing tomatoes in containers has variety picks if you’d rather start tomatoes in pots on a patio instead of in-ground.
Common Layout Mistakes to Avoid
- Planting everything the day you buy it, with no plan. Sketch the layout on paper first — even a rough grid on a napkin beats guessing in the moment.
- Ignoring mature size. A tomato seedling is 6 inches tall at planting and can hit 5–6 feet by August. Space for the plant it becomes.
- Skipping succession planning. Fast crops like radishes and lettuce finish in a few weeks — plan to replant that space rather than leaving it empty. A bed that clears out in early fall is a perfect spot to plant garlic in fall for a harvest next summer.
- Forgetting pathways. Leave at least 18–24 inches between beds or rows so you can actually walk through to harvest and weed without trampling anything.
- Planting the same crop family in the same spot every year. Rotating crop families reduces the buildup of soil-borne pests and diseases specific to that family.
Frequently Asked Questions
How big should my first vegetable garden be?
A single 4×8-foot bed is the standard beginner recommendation. It’s large enough for 4–6 crops but small enough to weed, water, and harvest in under 30 minutes a day.
Do rows really need to run north to south?
For maximum sun exposure, yes — it’s the layout extension programs consistently recommend. If your site doesn’t allow it, just be extra careful to keep tall crops on the north side so they don’t shade the rest.
Can I mix vegetables and flowers in the same layout?
Absolutely. Many gardeners tuck marigolds, zinnias, or nasturtiums along the edges — they don’t compete much for space and can attract pollinators to your vegetables. Just don’t let them shade shorter crops.
What should I plant first if I’m brand new to vegetable gardening?
Tomatoes, peppers, bush beans, and radishes are consistently listed among the easiest vegetables for beginners — forgiving, fast to show results, and hard to mess up with basic care.
Should I use raised beds or plant directly in the ground?
Either works. Raised beds give you better drainage and control over soil quality right away, which is especially useful over heavy clay soil — see our guide on raised bed soil mix for the exact ratios. In-ground beds cost nothing to start but depend more on your existing soil quality.
Final Thoughts
A good layout isn’t about having a fancy garden — it’s about setting your plants up so sun, water, and space all work in their favor instead of against them. Start with one well-planned bed, respect the spacing on the seed packet, and let the tallest plants stand guard on the north side.
Once your layout is sketched, head over to our Vegetable Garden category for the next steps — soil mix, container options, and seasonal planting windows to keep that first bed productive well into fall.